13 DIY Garden Globes To Add Whimsy Outdoors
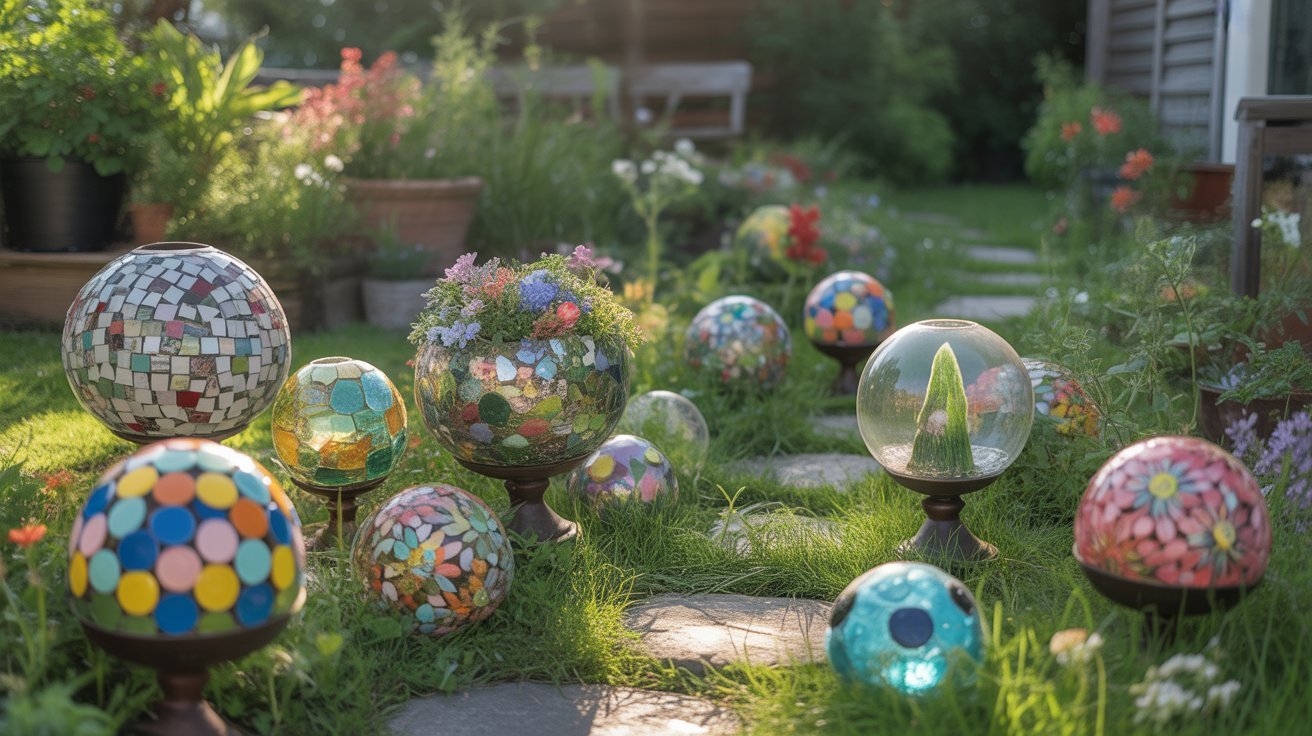
Gardens are more than just patches of greenery—they are a canvas for creativity. Whether you have a sprawling backyard or a cozy balcony, adding artistic elements can turn your outdoor space into a magical retreat. One of the most charming and versatile ways to achieve this is through DIY garden globes. These sparkling orbs of color and light can enhance your garden’s aesthetic, provide a focal point, and create a whimsical atmosphere that delights both children and adults.
In this post, we’ll explore 13 creative ideas for DIY garden globes, offering step-by-step instructions, design inspirations, and tips to make them uniquely yours. Whether you are a seasoned crafter or a beginner, these ideas are accessible, fun, and budget-friendly. Let’s dive into the world of enchanting garden globes that transform ordinary outdoor spaces into extraordinary landscapes.
Why Choose DIY Garden Globes?
DIY garden globes are more than just decorative items—they offer several benefits that make them a worthwhile addition to any outdoor space:
- Personalization – When you create your own garden globes, you control every detail, from size and shape to color and embellishments. This ensures your globes match your garden’s style perfectly.
- Affordability – Store-bought garden ornaments can be expensive, especially if you want multiple pieces. DIY projects allow you to repurpose materials you already have or buy supplies inexpensively.
- Creativity – Crafting garden globes is a wonderful way to unleash your artistic side. You can experiment with colors, textures, and lighting to make each globe a unique masterpiece.
- Sustainability – Many DIY globe projects use recycled or upcycled materials such as old glass jars, ornaments, or even discarded light bulbs, reducing waste while adding charm.
- Whimsical Appeal – A garden filled with DIY globes creates an almost magical ambiance, especially when sunlight or garden lights interact with the surfaces, casting reflections and colors around the space.
1. Classic Glass Globe with Paint

The simplest and perhaps most traditional version of a DIY garden globe involves a clear glass globe and acrylic paint. This project is perfect for beginners.
Materials Needed:
- Clear glass globe or light bulb
- Acrylic paints in your chosen colors
- Paintbrushes
- Optional: glitter or metallic accents
Steps:
- Clean the glass globe thoroughly.
- Paint abstract patterns, flowers, or geometric designs on the surface.
- Add a thin layer of glitter for a sparkling effect.
- Allow the globe to dry completely before placing it on a stand or embedding it in soil.
This design works beautifully in both contemporary and rustic gardens, adding a subtle splash of color that catches the eye without overwhelming the greenery.
2. Mosaic Garden Globe

If you want a globe that radiates color and texture, a mosaic design is perfect. Small tiles, beads, or broken ceramics create intricate patterns that shimmer in the sunlight.
Materials Needed:
- Clear or opaque globe
- Mosaic tiles or broken colored ceramics
- Strong adhesive
- Grout
- Sealer
Steps:
- Apply adhesive in small sections of the globe.
- Press the mosaic tiles or ceramics into the adhesive, covering the surface.
- Once dry, fill gaps with grout and wipe off excess.
- Seal the globe to protect it from the elements.
Mosaic globes bring an artistic flair reminiscent of Mediterranean gardens and look stunning as part of a garden pathway or focal display.
3. Glitter-Filled Globe

For a whimsical and sparkling effect, try a glitter-filled garden globe. This project works well with clear glass globes and is especially magical during sunlight or evening garden lighting.
Materials Needed:
- Clear globe
- Fine glitter in assorted colors
- Clear epoxy or resin
- Mixing sticks
Steps:
- Mix glitter with clear epoxy or resin.
- Pour the mixture into the globe carefully.
- Rotate the globe to evenly coat the interior.
- Allow it to cure according to the resin instructions.
This design produces globes that look like captured starlight, perfect for fairy gardens or whimsical corners of your backyard.
4. Floating Candle Globe

Garden globes can also double as ambient lighting. A floating candle globe is a lovely option that adds both beauty and functionality.
Materials Needed:
- Clear globe or glass bowl
- Small floating candles or LED tealights
- Water
- Optional: flower petals or colored stones
Steps:
- Fill the globe with water.
- Add flower petals or decorative stones for visual interest.
- Place floating candles on top.
The soft glow of candlelight reflects beautifully off the water and glass, creating a serene and magical atmosphere, perfect for evening garden parties.
5. Solar-Powered LED Globe

For a globe that lights up your garden automatically at night, solar-powered LED globes are ideal.
Materials Needed:
- Clear or frosted globe
- Small solar LED lights
- Waterproof adhesive (if needed)
- Optional: colored tissue paper for stained-glass effect
Steps:
- Insert the solar LED light into the globe, ensuring the solar panel remains on top for sun exposure.
- Add tissue paper or other decorative elements for color diffusion.
- Place the globe in a sunny spot.
Solar globes are practical, low-maintenance, and add an enchanting glow that lasts all night.
6. Upcycled Ornament Globe
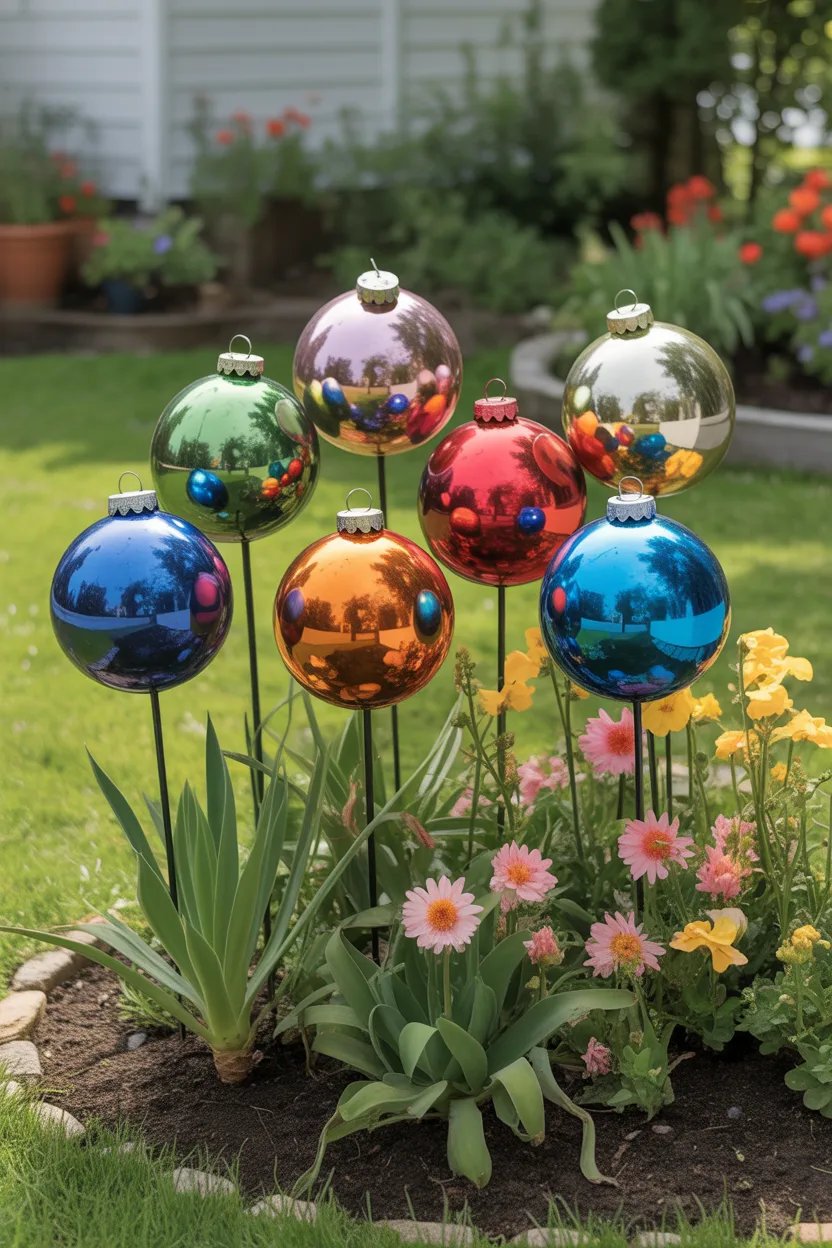
Repurpose old Christmas ornaments into garden globes for a cost-effective and eco-friendly option.
Materials Needed:
- Old glass or plastic ornaments
- Paint, glitter, or decoupage materials
- Garden stakes or wire
Steps:
- Decorate the ornaments using paint, glitter, or decoupage.
- Attach each ornament to a garden stake or wire.
- Place them among flowers or along pathways.
This is a fantastic way to give old decorations a new lease on life and add seasonal versatility to your garden.
7. Concrete Globe
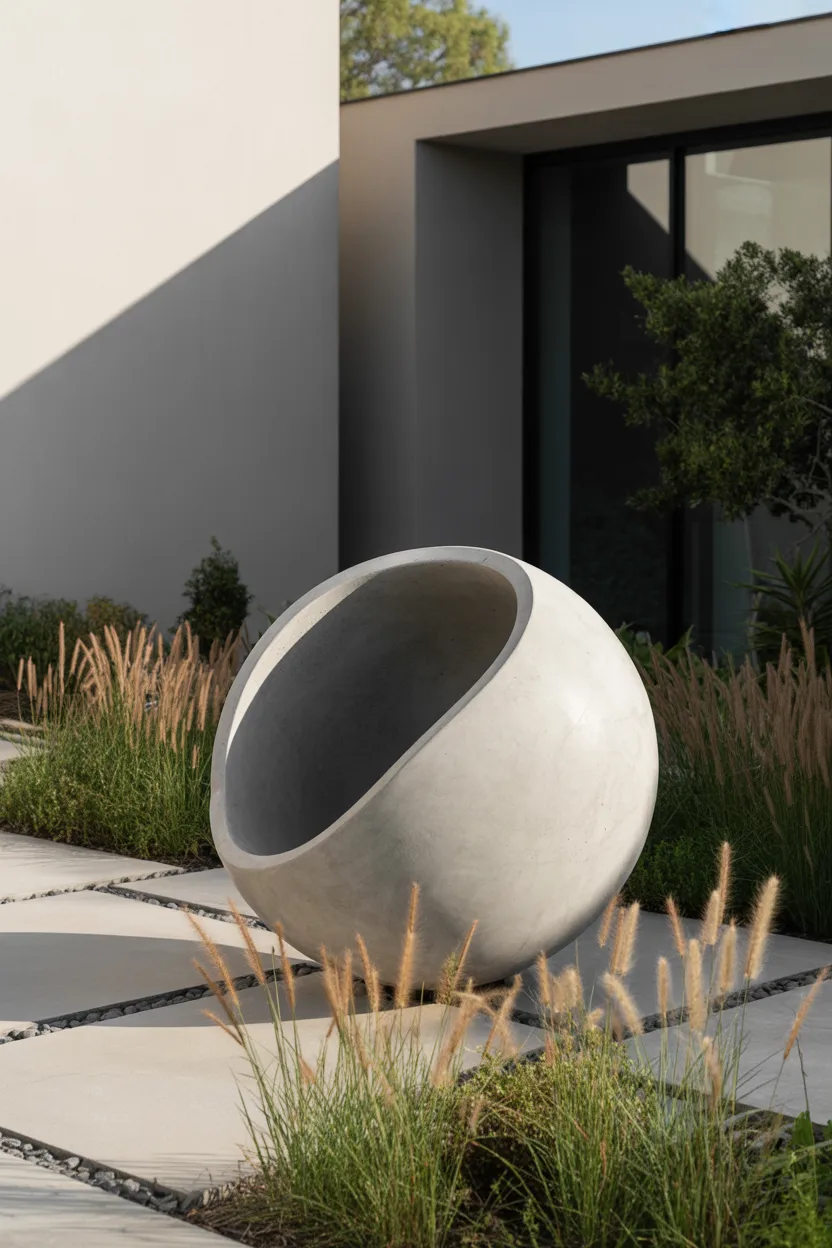
For a more substantial and sculptural garden accent, consider a DIY concrete globe. These globes are durable and give a modern, minimalist touch to your garden.
Materials Needed:
- Inflatable beach ball or round mold
- Quick-set concrete
- Cooking spray or mold release
- Sandpaper
Steps:
- Coat the mold with cooking spray or mold release.
- Pour a thin layer of concrete and rotate the mold to cover all surfaces.
- Allow it to set, then remove the mold.
- Sand any rough edges for a smooth finish.
Concrete globes can be left natural, painted, or stained, and they work beautifully as large statement pieces in modern garden designs.
8. Glow-in-the-Dark Globe

Bring night-time magic to your garden with glow-in-the-dark globes.
Materials Needed:
- Clear globe
- Glow-in-the-dark paint or powder
- Clear adhesive or epoxy
Steps:
- Mix glow-in-the-dark powder with epoxy.
- Coat the inside or outside of the globe.
- Let it charge in sunlight for several hours.
These globes emit a gentle glow after sunset, creating a magical, fairytale-like environment that’s perfect for evening gatherings or quiet reflection.
9. Hanging Globe Terrarium
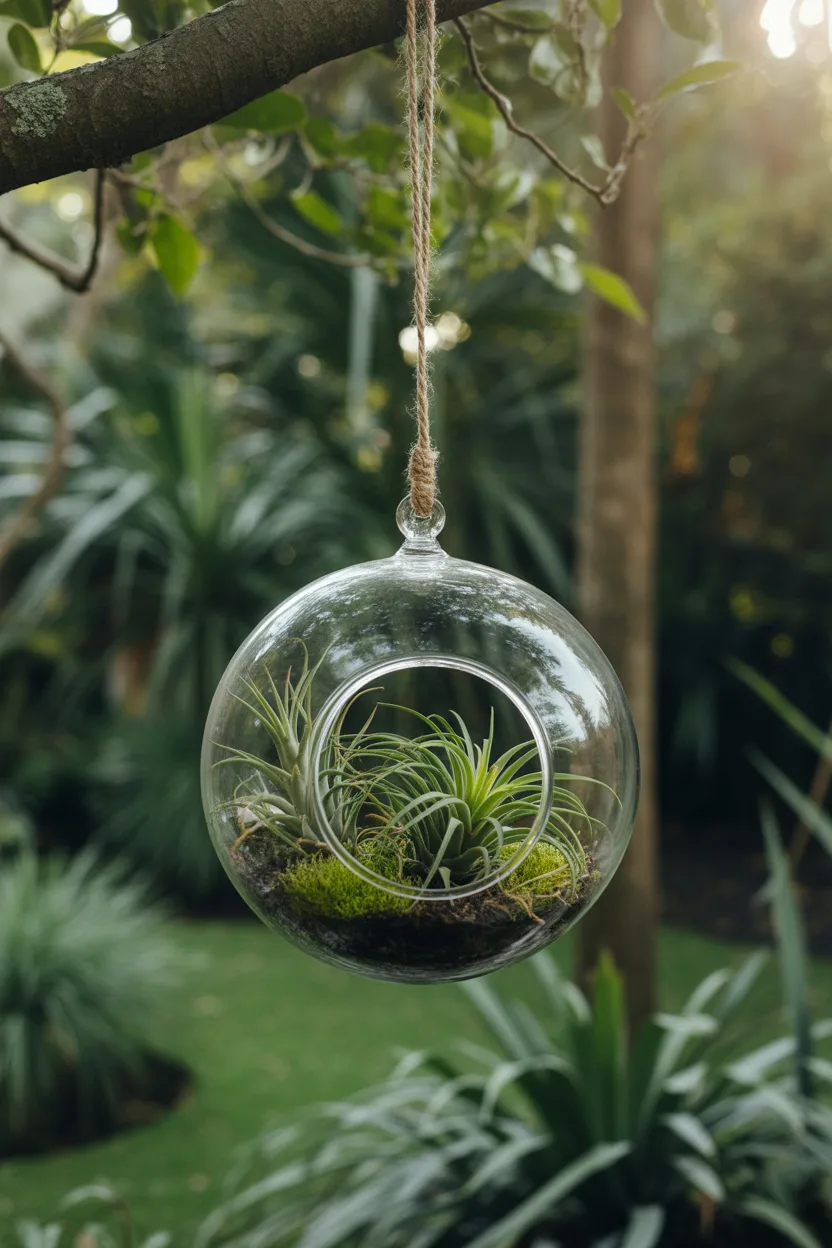
Combine the charm of garden globes with living plants by creating hanging terrariums.
Materials Needed:
- Clear globe with an opening
- Small air plants or succulents
- Decorative pebbles or moss
- Fishing line or wire for hanging
Steps:
- Place moss or pebbles at the base of the globe.
- Position the plants carefully inside.
- Hang from a tree branch, pergola, or hook.
These globes bring life into your garden and work beautifully in patios or shaded areas where potted plants might struggle.
10. Stained Glass Globe

A stained glass effect can make your DIY garden globes look like artisanal works of art.
Materials Needed:
- Clear glass globe
- Glass paint in multiple colors
- Paint brushes
- Black leading or paint for outlines
Steps:
- Draw your design lightly with a pencil or chalk.
- Apply black leading or paint along the lines.
- Fill in with glass paints and let dry.
The sun streaming through stained glass globes creates a spectacular kaleidoscope effect, adding color and life to your outdoor space.
11. Paper Mache Globe

Paper mache globes are lightweight, customizable, and fun for a weekend craft project.
Materials Needed:
- Balloon
- Newspaper strips
- Flour and water paste or glue
- Paint and decorative elements
Steps:
- Inflate the balloon to the desired size.
- Dip newspaper strips in paste and layer over the balloon.
- Once dry, pop the balloon and remove it.
- Paint and decorate as desired.
Paper mache globes are ideal for temporary or seasonal decorations and can be customized in endless creative ways.
12. Natural Element Globe
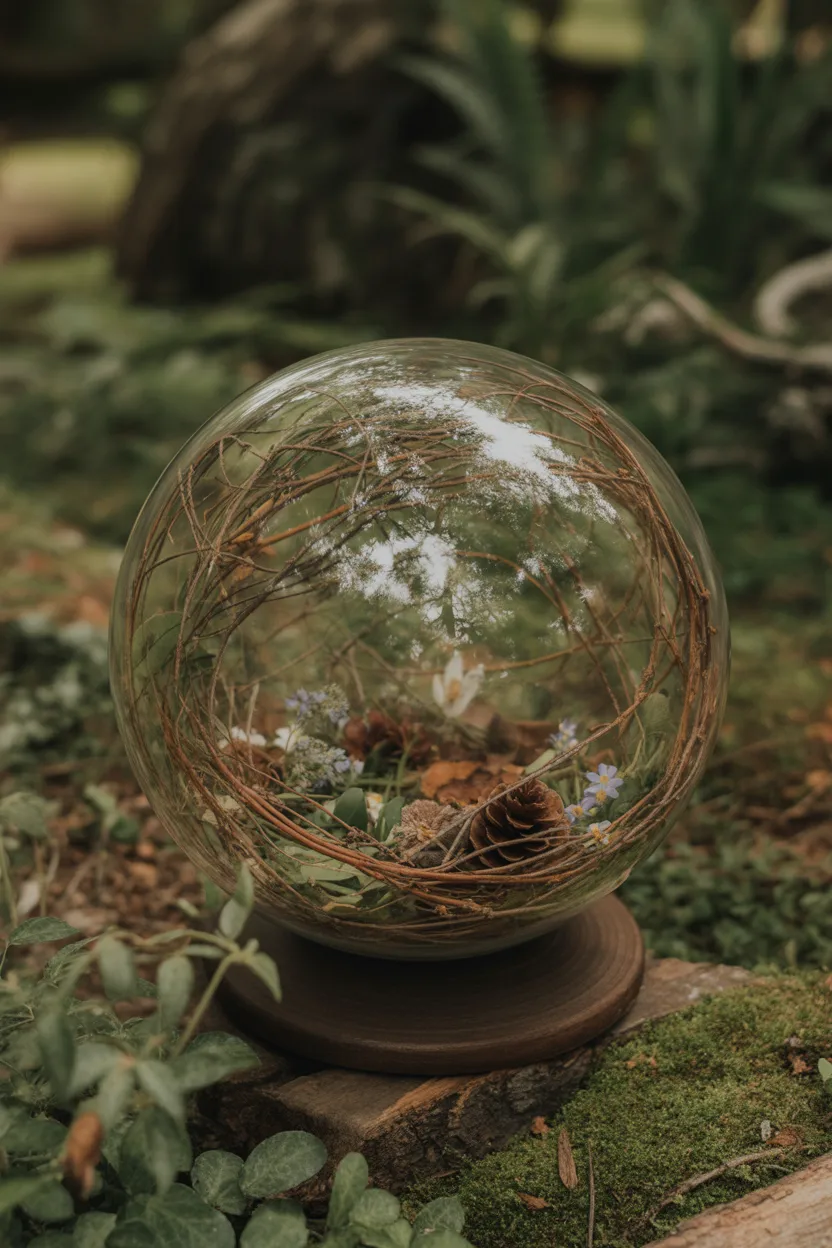
Incorporate elements from your garden or yard into globes for a nature-inspired aesthetic.
Materials Needed:
- Clear globe
- Twigs, leaves, pinecones, or small flowers
- Clear adhesive or epoxy
Steps:
- Arrange natural elements inside or on the surface of the globe.
- Secure with adhesive.
- Place in your garden for a globe that feels organic and harmonious with the surroundings.
These globes enhance the natural beauty of your garden, making them perfect for woodland or rustic garden themes.
13. Whimsical Fairy Globe
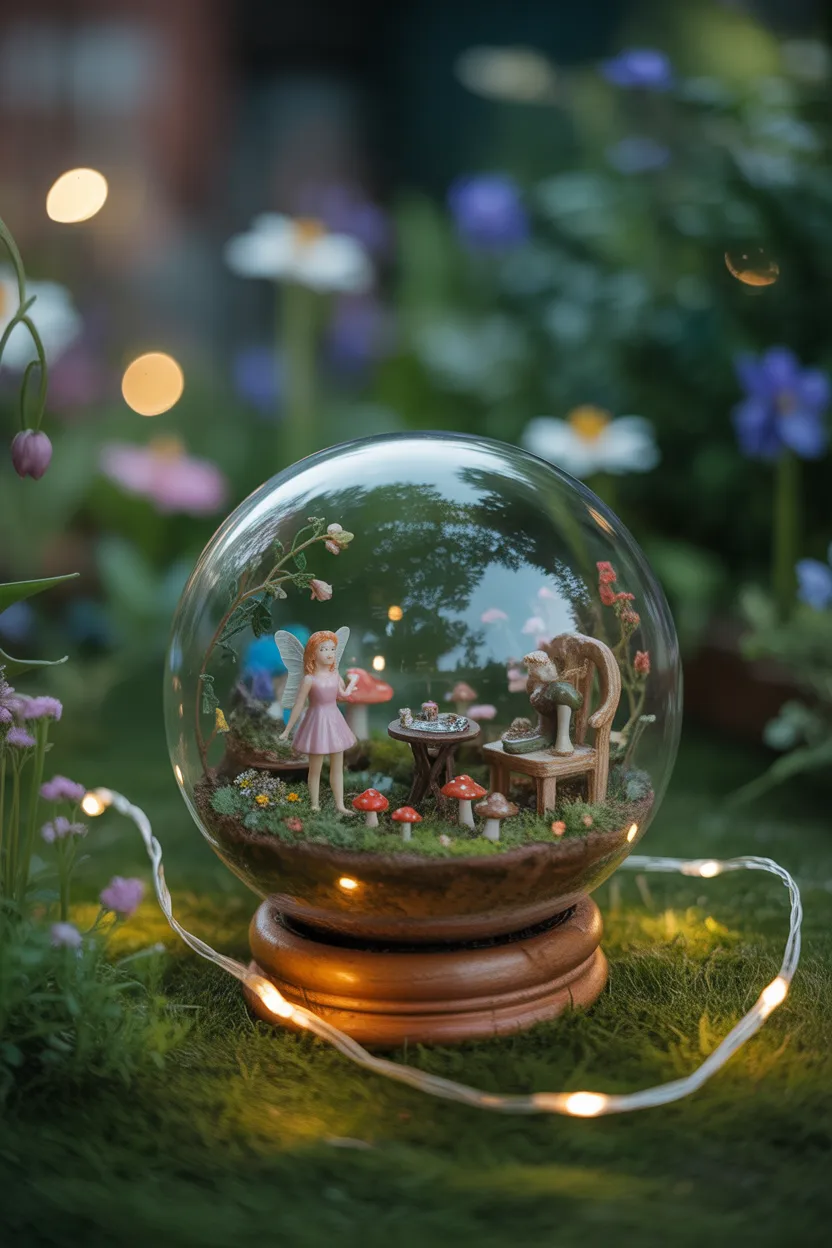
For a truly magical touch, create globes with tiny fairy figures, miniature furniture, or fantasy elements inside.
Materials Needed:
- Clear globe
- Miniature figurines, fairies, or gnomes
- Miniature accessories (tiny mushrooms, benches, etc.)
- Adhesive
Steps:
- Arrange the figurines and accessories inside the globe.
- Secure them with adhesive.
- Place globes around flower beds, along pathways, or near garden water features.
Fairy globes spark imagination and are perfect for children’s gardens or anyone who enjoys a whimsical, storybook outdoor space.
Tips for Displaying DIY Garden Globes
- Vary Heights – Mix globes on stakes, pedestals, or low to the ground for visual interest.
- Group in Odd Numbers – Odd numbers of globes (3, 5, 7) tend to look more natural and appealing.
- Consider Lighting – Solar or glow-in-the-dark globes add evening charm.
- Integrate Plants – Surround globes with flowers, grasses, or shrubs for a cohesive look.
- Weatherproofing – Use outdoor-safe paints and sealants to protect your creations from the elements.
Final Thoughts
DIY garden globes are a fun, creative way to add personality and charm to any outdoor space. From glittering sparkles to concrete sculptures, floating candles to fairy worlds, the possibilities are endless. By crafting your own globes, you not only enhance your garden’s aesthetics but also create pieces filled with personal meaning and artistic expression.
Whether you are looking to brighten a patio, add whimsy to a flower bed, or craft a serene evening retreat, these 13 DIY garden globe ideas offer inspiration for every taste and skill level. So gather your materials, let your creativity flow, and watch your garden transform into a magical oasis.